When adding a user to your Smartcat corporate account, you can choose a preset role for them. Each role comes with a certain level of access rights.
Smartcat preset user roles
- Linguist
- Resource manager
- Project manager
- Administrator
- Language Lead
1. Linguist
Linguists can only view and work with projects and documents according to tasks assigned to them. A linguist cannot edit project resources. If a glossary is connected to the project, all terms added by the Linguist have to be confirmed.
2. Resource manager
In addition to the tasks assigned to them, resource managers can work directly with translation memories and glossaries – add and edit terms, or import or export them.
Like linguists, resource managers can only view projects assigned to them, without the access right to delete them or add new projects.
3. Project Manager
Project managers have more rights than resource managers. They can add new projects and work with all of the projects within the account, regardless of who a project was created by.
They can also edit project settings and resources and work with account resources, like resource managers.
4. Administrators
Administrators, or admins, have all available rights. Only an admin can create new user groups or manage paid services and vendors.
5. Language lead
The language lead is a dedicated manager on your team, who can freely alter content for given languages.
You can also create your own access level and choose custom rights for each user on your Smartcat corporate account.
Creating an access level for a user
Follow these instructions to specify an access level for a current or new user.
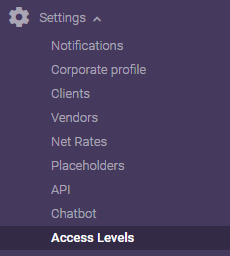
On the Settings tab, choose the Access Levels menu.
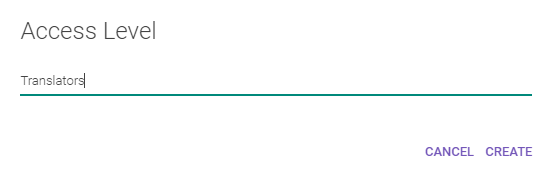
Click the Add access level button. In the window that opens, enter the access level name and click Create.
Editing an access level
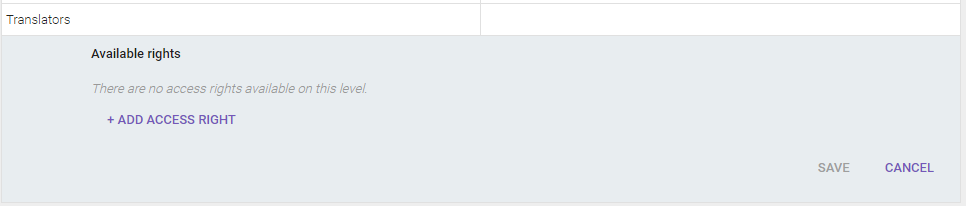
To define access rights, select an access level in the list, then click Edit.

To click Add Access Right to define which rights this access level will have.
Select a right from the list and click Next.
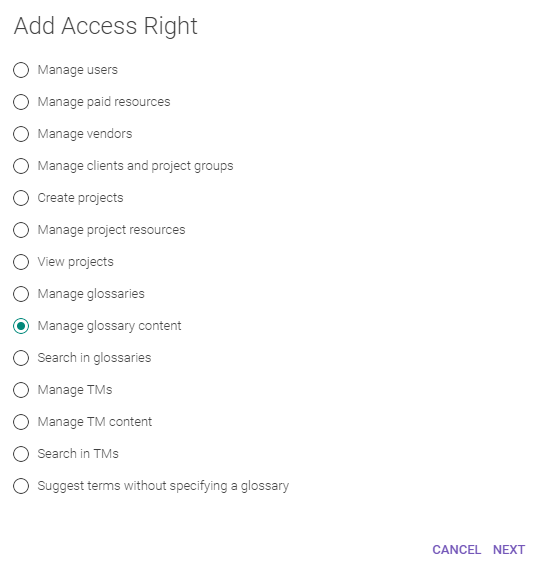
In the next window, define the scope of this right. For example, if you want to allow this user group to manage glossary content, you can define specific glossaries, glossaries of a particular client or choose certain languages in glossaries.
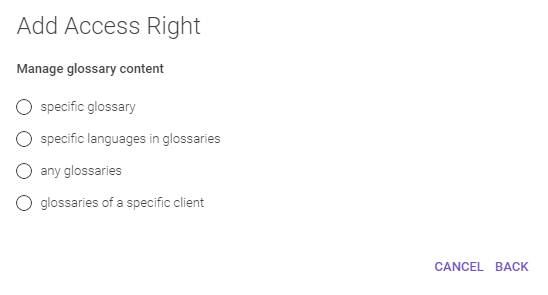
When done, press Add. The access rights you added will appear in the list.
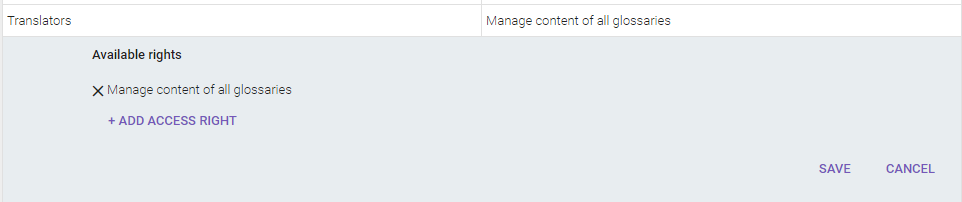
To remove a right from the access level, click the cross next to the right in the list. To confirm the changes, hit Save.
Deleting an access level
To delete an access level, select it in the list. Click the Delete button and confirm.
Did this article help you find the answer you were looking for? If not or if you have further questions, please contact our support team.
