When you hire or pay freelancers the invoice is by default issued right after you approve the completed project. Payment is due after 30 calendar days. However, you can customize this process to your liking.
Please note: Changes to the settings are only applied if post-payment is applicable to this job. If prepayment is applied, the approximate cost of the job should be withdrawn from the customer balance or paid by a credit card at the moment when it is sent to the freelancer. You can learn more in our article on pre-payment to freelancers.
Available invoicing settings
- After compilation of a project
- After compilation of a file
- Every week
- Every two weeks
- Once a month
- Manually
In the latter case, you will have to generate invoices yourself no later than 20 days after the end of the project. We do not recommend choosing this setting without any specific reason in order to avoid human error and payment delays.
Available payment settings
You can manually set any number of days you need to pay for the translation. The due date is counted from the invoice generation date. At the end of the specified period the invoice will be considered overdue.
Note that the information about payment terms is open for suppliers. As a result, if you select invoicing and payment periods that are longer than average, some candidates may opt for more favorable conditions.
Changing invoicing and payment settings
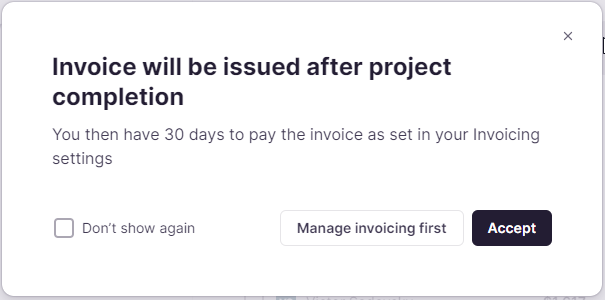
When you invite a supplier to your project, Smartcat prompts you to customize the payment terms.
You can also customize the payment terms at any moment. To do so, go to Payments → Supplier payments → Invoicing settings and select one of the options described above from the respective dropdown menu.
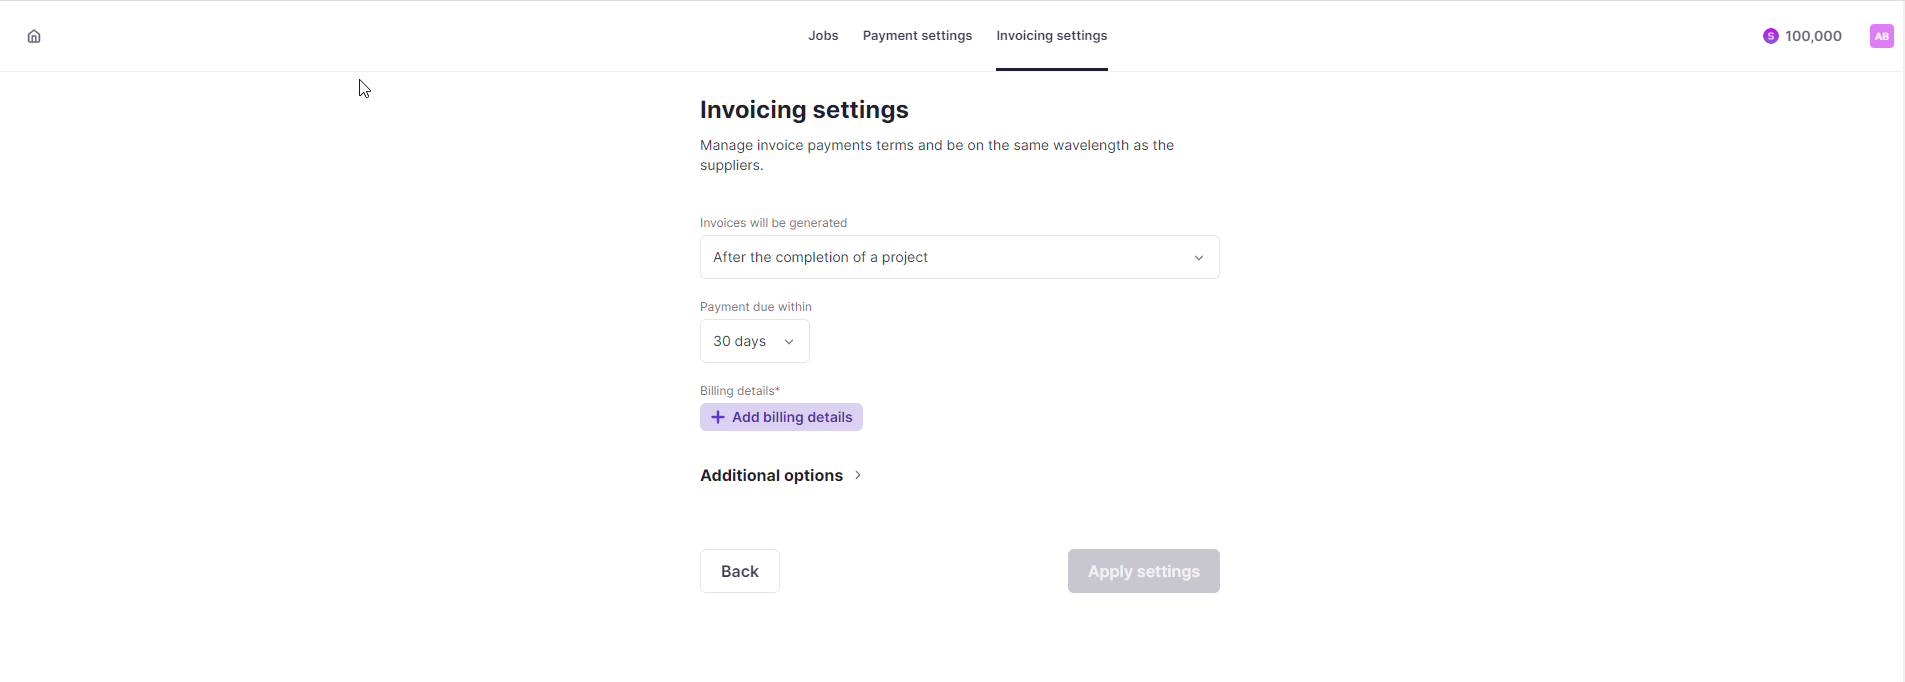
Click Apply settings when done.
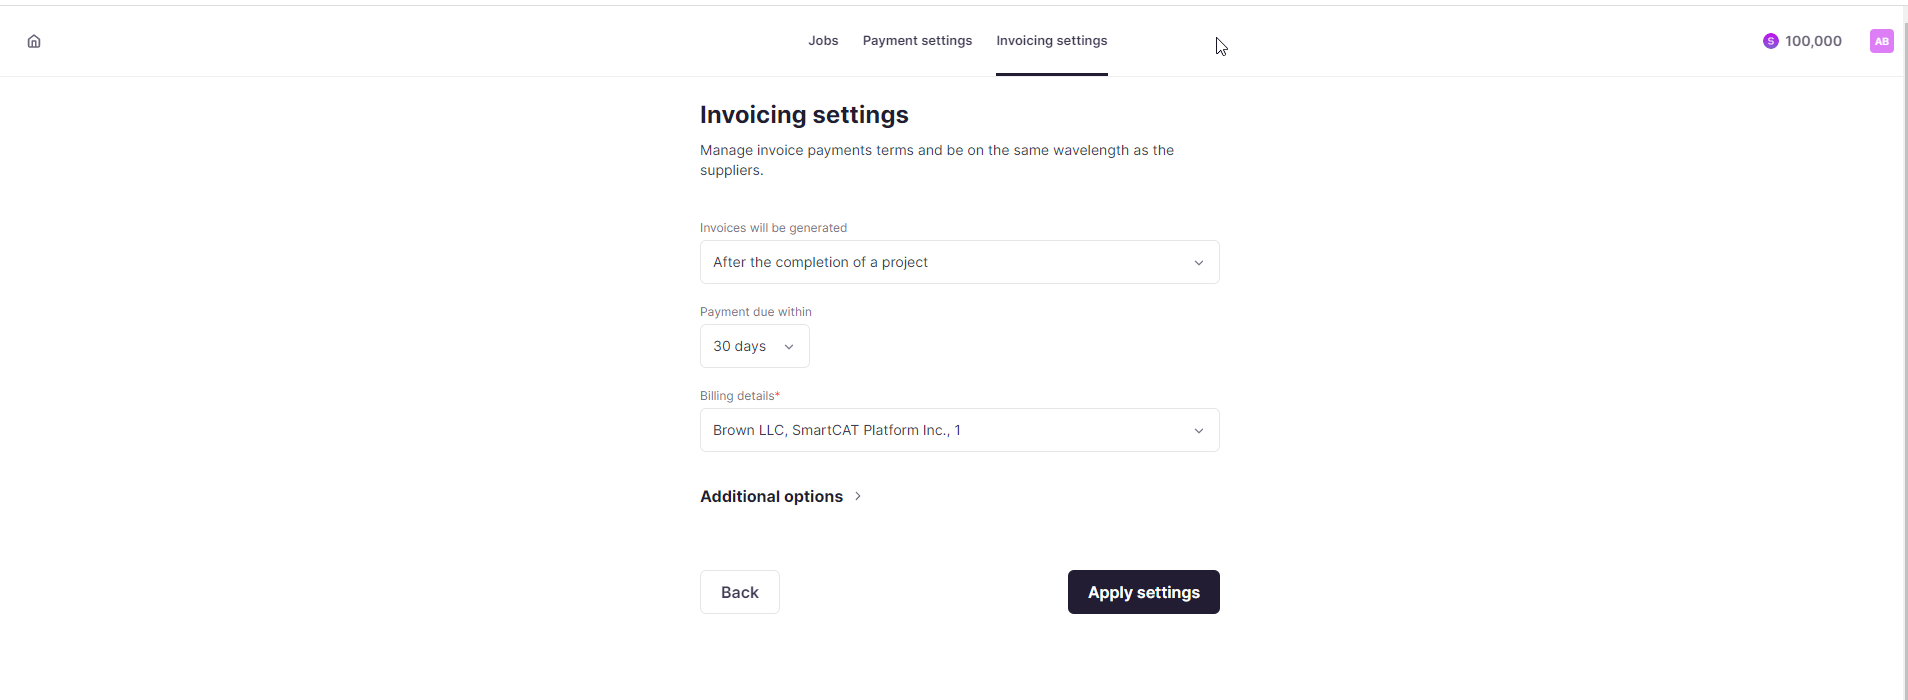
In the Invoicing settings section, you can specify the billing details to use in your invoices and create separate invoices by property. You can also add manually created jobs to invoices.
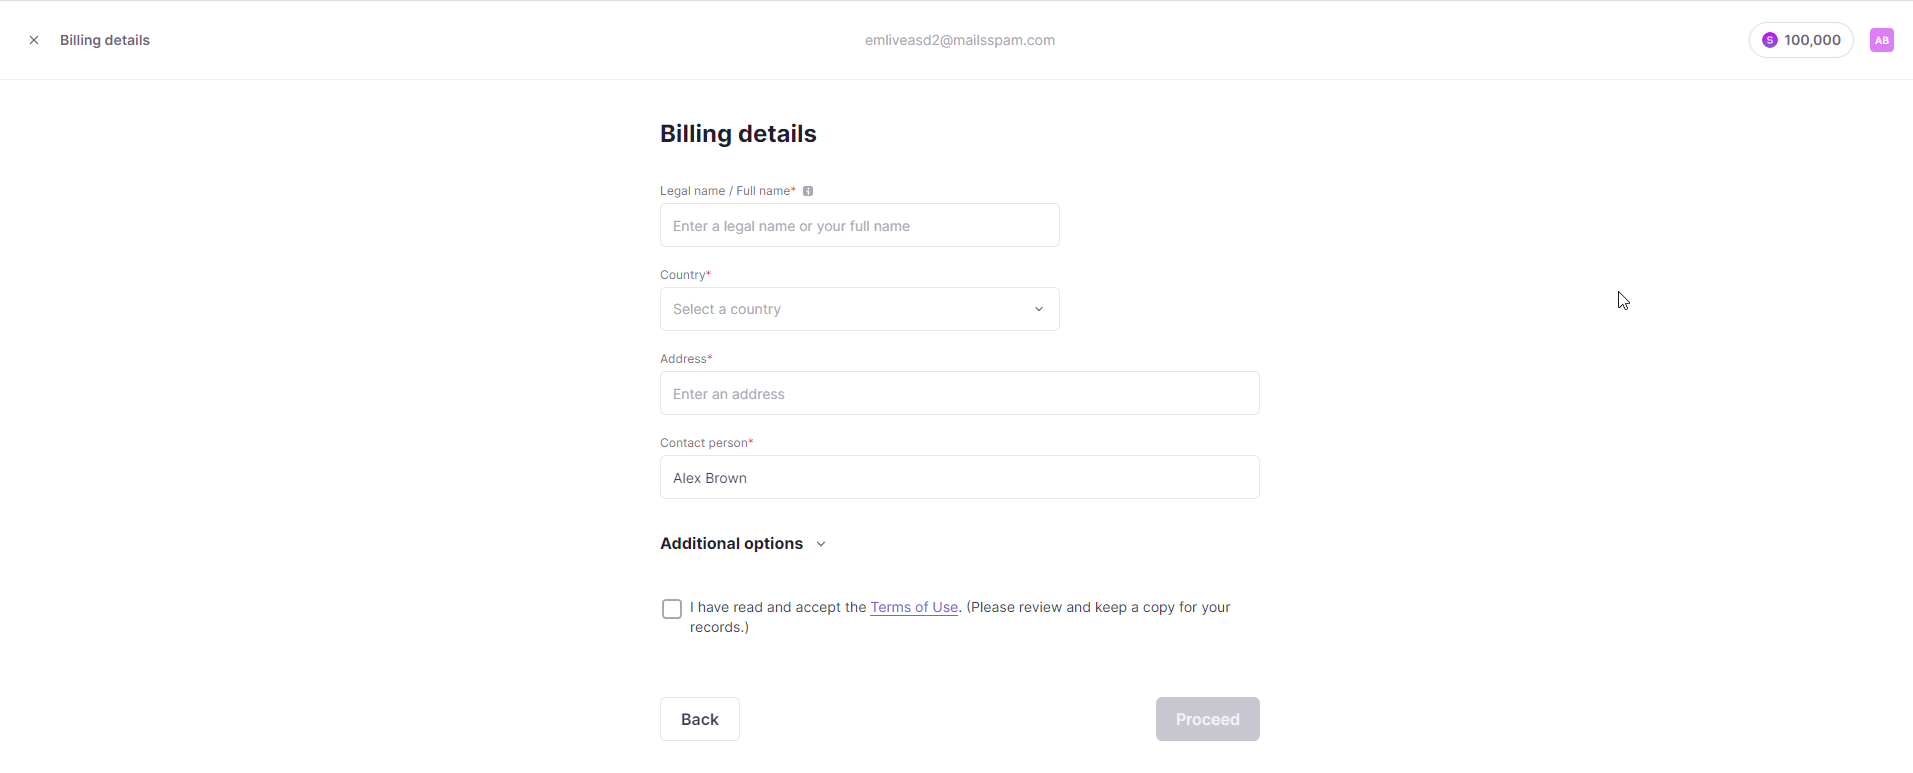
To add the billing details, click the respective button and fill in the form that opens automatically.
To create invoices by property, activate the respective toggle and choose the property from the dropdown menu. Smartcat will then create a separate invoice for each property.
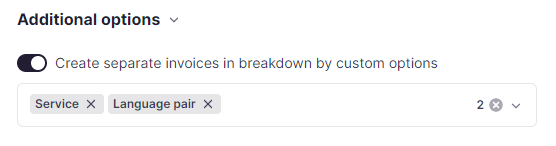
Note that creation of invoices by property is available for all invoicing options, except manual invoice generation.
To add manually created jobs to invoices, activate the respective toggle. After that the jobs that you created manually in the Supplier payments section using the Add supplier job button will be added to your invoices.

Press Apply settings to save your choices.
Your chosen settings are now saved!
We have a whole section of our Help Center dedicated to helping you with Payment Automation if you didn't find the answer to your question here.
Did this article help you find the answer you were looking for? If not or if you have further questions, please contact our support team.
